1. 概述
在傳統(tǒng)的地圖出版中����,經(jīng)常會(huì)看到帶有花邊裝飾的地圖�,此類地圖多使用CorelDraw軟件制作,地圖制作和圖面整飾全都在此軟件中完成��。
但是CorelDraw畢竟不是GIS軟件�,所以其制作地圖的準(zhǔn)確性欠佳。
相比于CorelDraw制作地圖數(shù)據(jù)�����,GIS軟件具有精確性���、規(guī)則性�����、統(tǒng)一性��、詳細(xì)性等多重優(yōu)點(diǎn)�,所以這里給大家講解一下使用ArcGIS制作地圖花邊的方法。
2. 數(shù)據(jù)來(lái)源
本教程所使用的數(shù)據(jù)是從微圖中下載的DEM數(shù)據(jù)����,除了DEM數(shù)據(jù),常見(jiàn)的GIS數(shù)據(jù)都可以從微圖中進(jìn)行下載��。
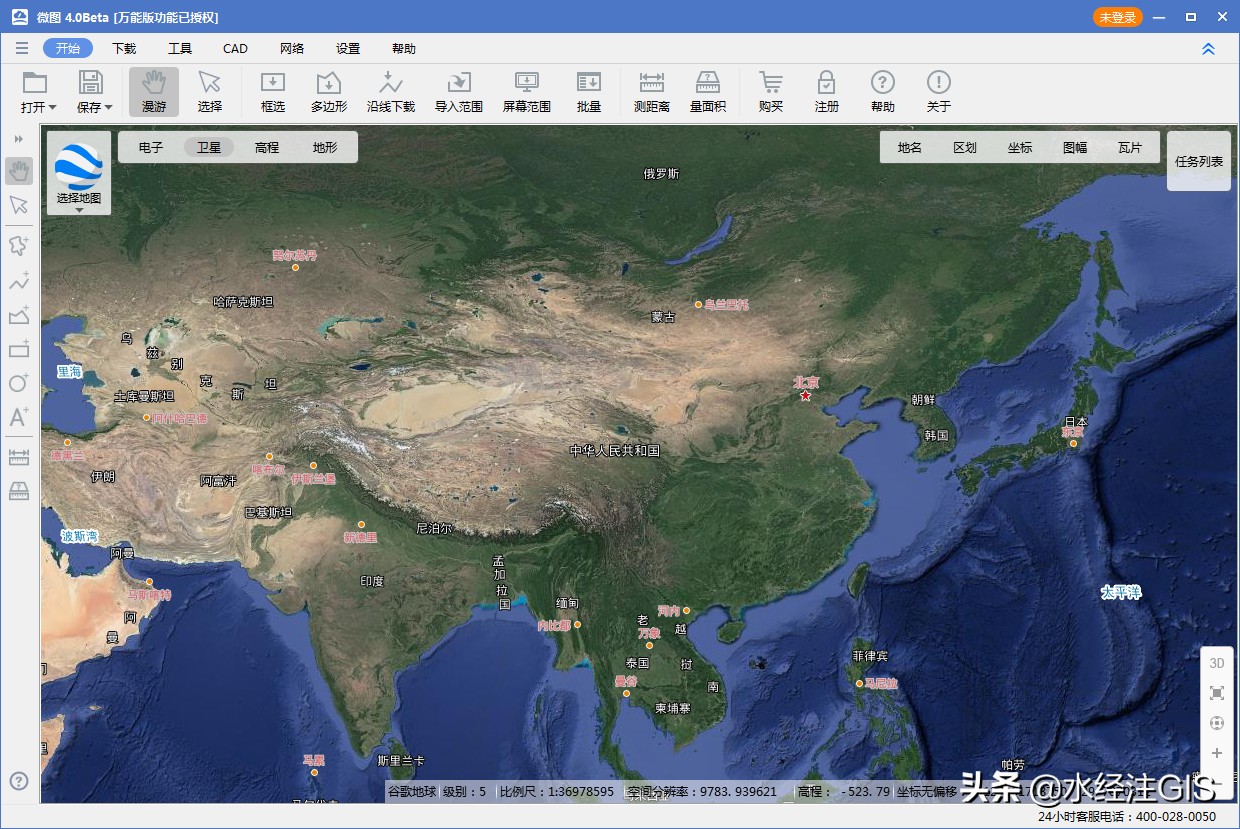
微圖
(關(guān)注頭條號(hào)"水經(jīng)注GIS"�����,并回復(fù)"微圖"獲取微圖軟件安裝包)
3. 新建邊框樣式
將DEM數(shù)據(jù)加載到ArcMap中�,效果如下圖所示。
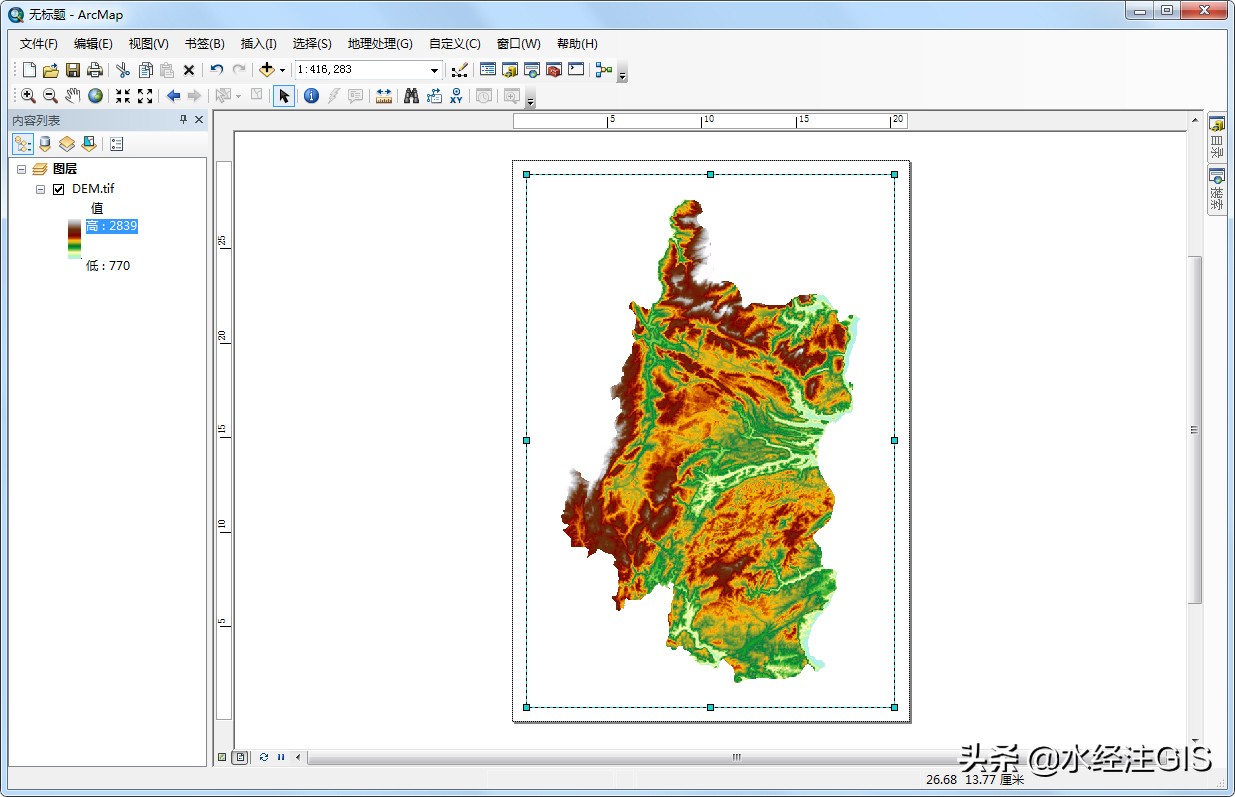
DEM數(shù)據(jù)
在圖層上點(diǎn)擊右鍵�,選擇屬性,如下圖所示�����。
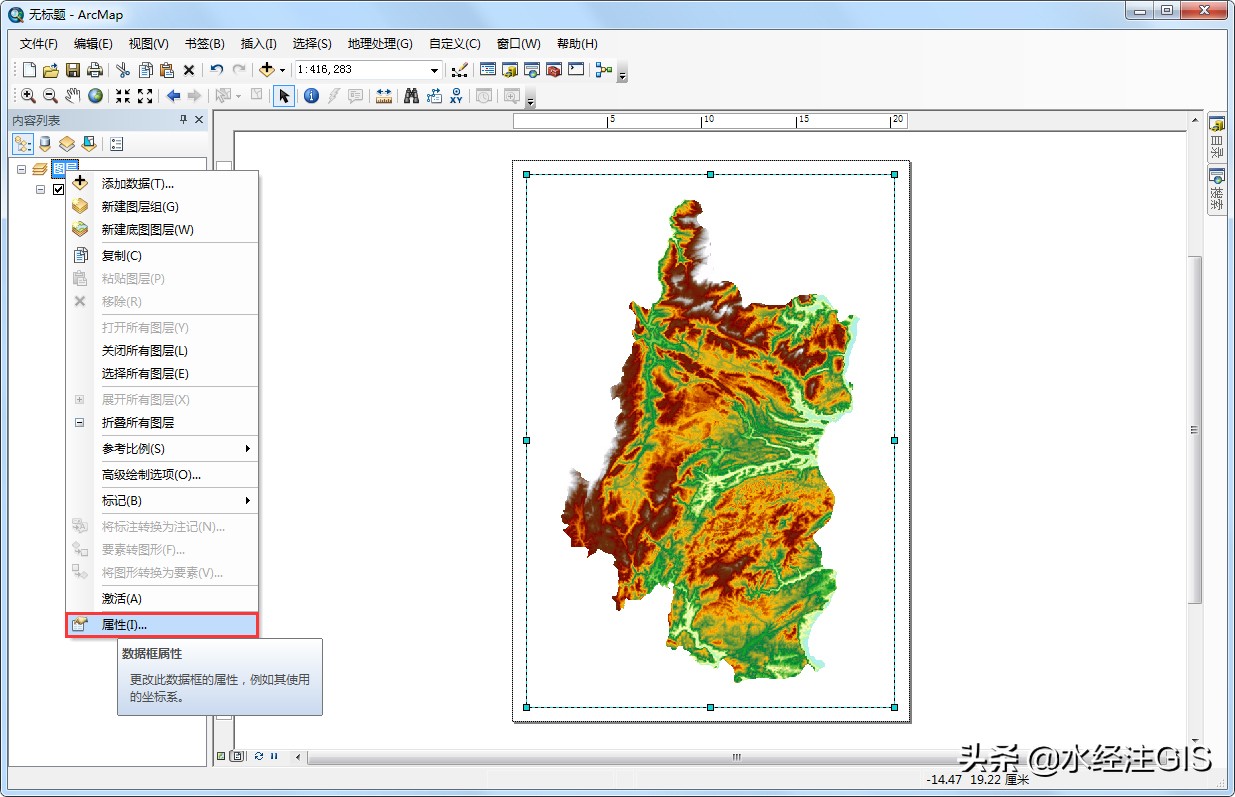
選擇屬性
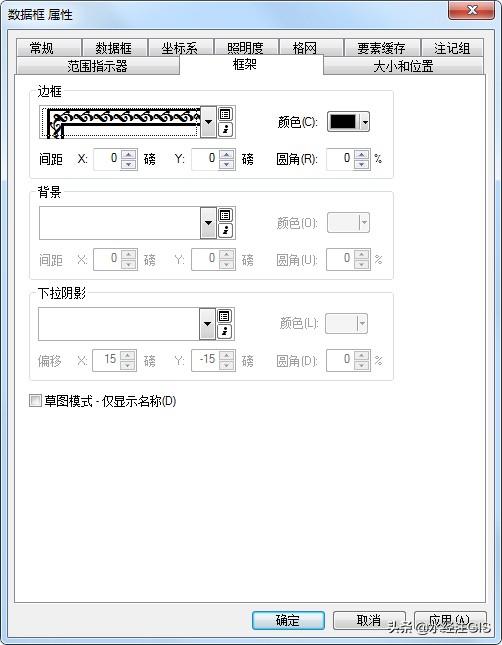
在顯示的屬性對(duì)話框內(nèi)����,選擇框架選項(xiàng)卡���,點(diǎn)擊樣式選擇器按鈕,如下圖所示���。
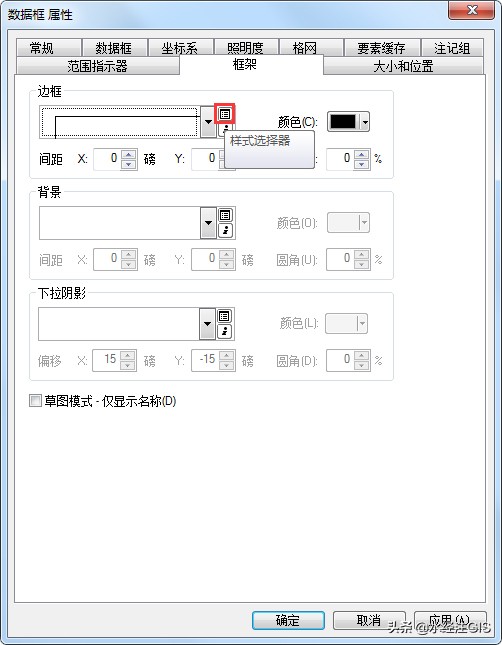
樣式選擇器按鈕
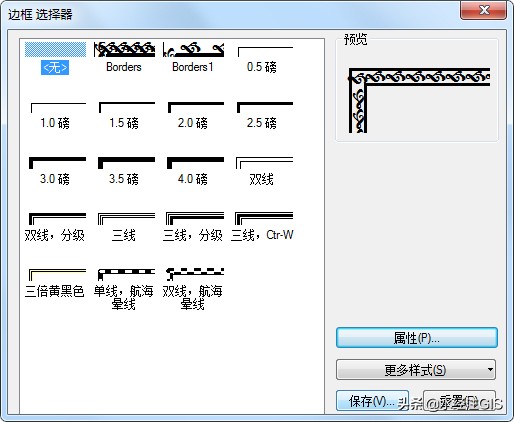
在顯示的邊框選擇器對(duì)話框內(nèi)點(diǎn)擊屬性按鈕���,如下圖所示。
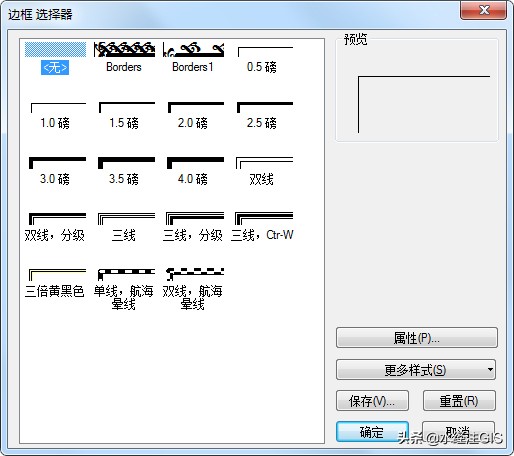
邊框選擇器
在顯示的邊框?qū)υ捒騼?nèi)點(diǎn)擊更改符號(hào)按鈕���,如下圖所示。
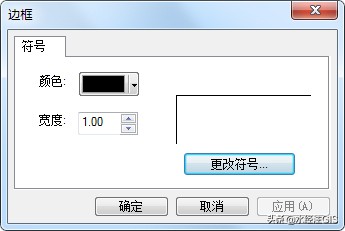
邊框?qū)υ捒?/p>
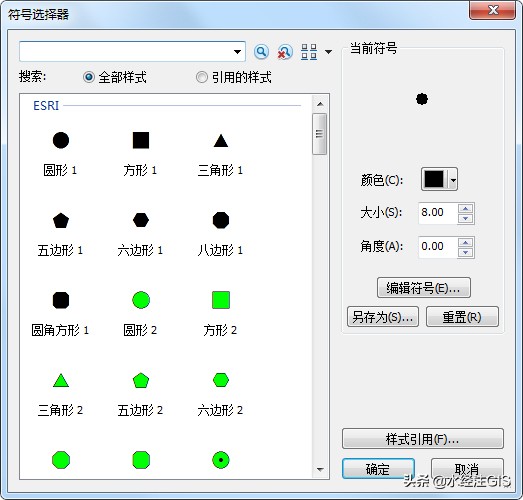
在顯示的符號(hào)選擇器對(duì)話框內(nèi)�����,點(diǎn)擊編輯符號(hào)按鈕�����,如下圖所示��。
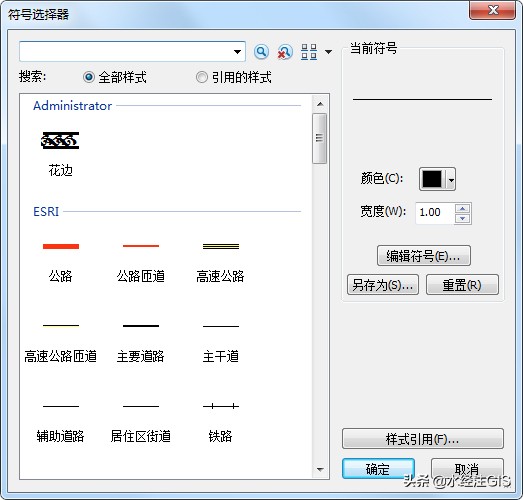
符號(hào)選擇器對(duì)話框
在顯示的符號(hào)屬性編輯器對(duì)話框內(nèi)�,類型選擇標(biāo)記線狀符號(hào)�����,如下圖所示�����。
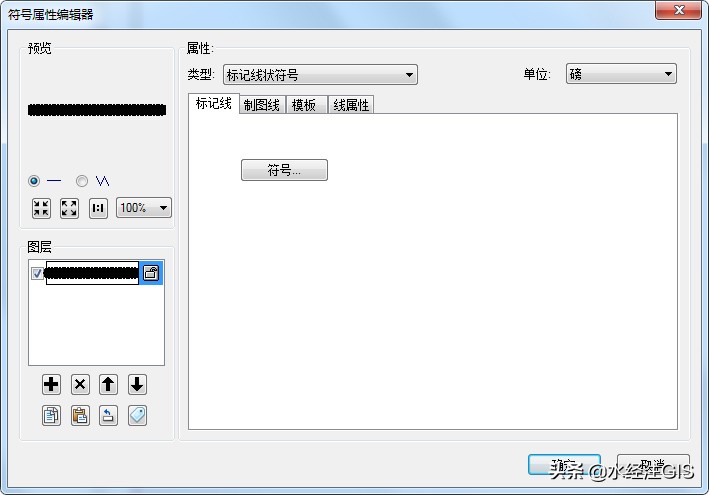
選擇標(biāo)記線狀符號(hào)
點(diǎn)擊符號(hào)按鈕����,如下圖所示�����。

點(diǎn)擊符號(hào)按鈕
在顯示的符號(hào)選擇器對(duì)話框內(nèi)���,點(diǎn)擊編輯符號(hào)按鈕���,如下圖所示。
點(diǎn)擊編輯符號(hào)
在顯示的符號(hào)屬性編輯器對(duì)話框內(nèi)�,類型選擇字符標(biāo)記符號(hào),如下圖所示���。

選擇字符標(biāo)記符號(hào)
在顯示的符號(hào)屬性編輯器對(duì)話框內(nèi)����,選擇Wingdings字體,Unicode輸入155��,調(diào)整大小為16����,如下圖所示。
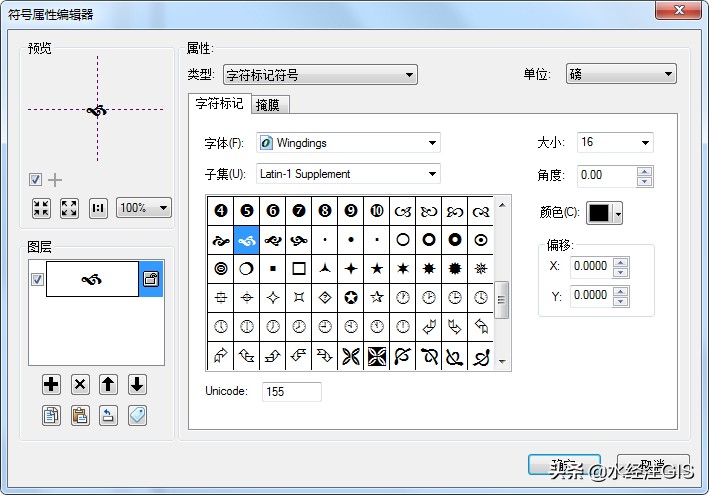
選擇符號(hào)
點(diǎn)擊多次確定�����,回到符號(hào)屬性編輯器對(duì)話框���,點(diǎn)擊模板選項(xiàng)卡,根據(jù)需要適當(dāng)調(diào)整間隔�����,如下圖所示�。
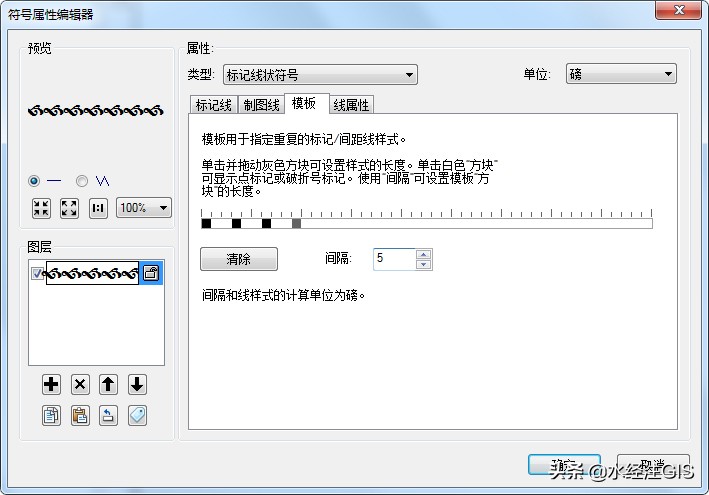
設(shè)置間隔
點(diǎn)擊添加圖層按鈕,添加兩個(gè)圖層��,如下圖所示�����。
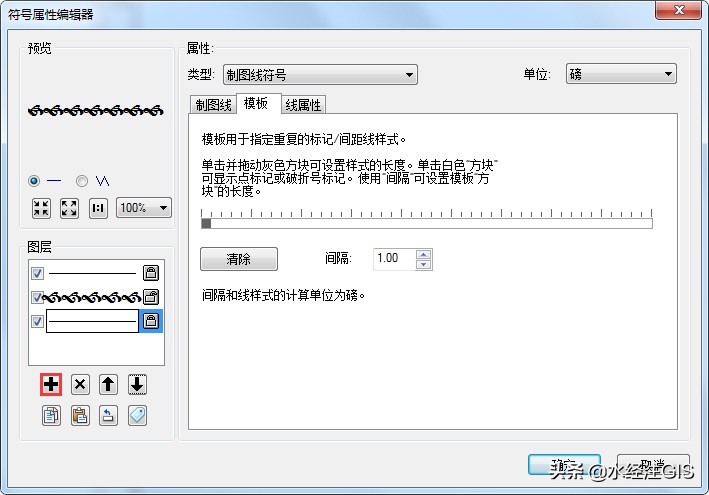
添加圖層
選中第一個(gè)圖層,選擇制圖線選項(xiàng)卡�����,設(shè)置寬度為2���,如下圖所示����。
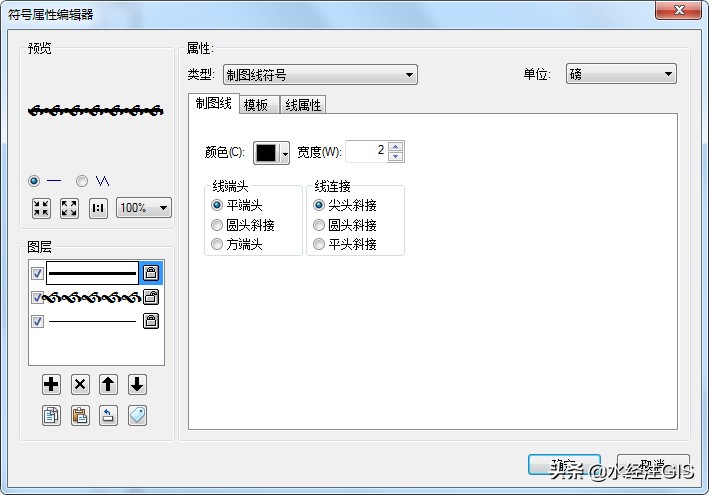
設(shè)置寬度
選擇線屬性選項(xiàng)卡�����,設(shè)置偏移為5.5�,如下圖所示。
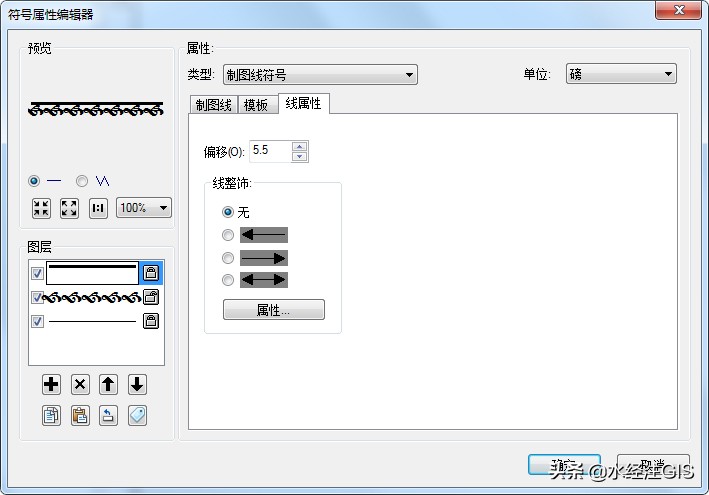
設(shè)置偏移
同樣的方法處理另外一個(gè)圖層��,處理完后效果如下圖所示��。
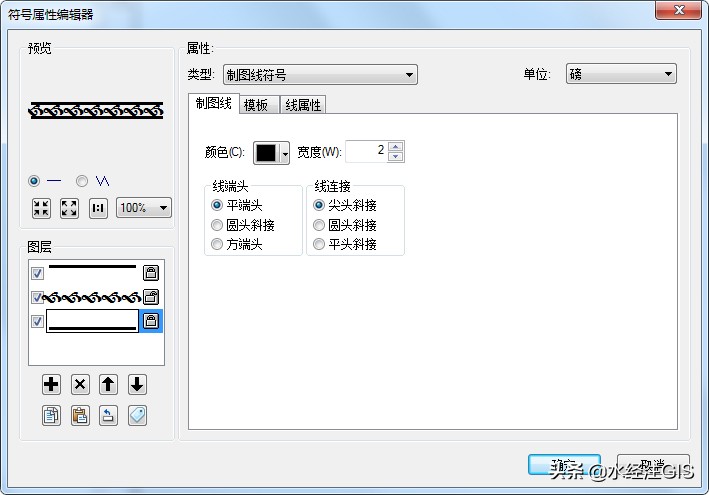
處理后效果
4. 保存并應(yīng)用邊框樣式
點(diǎn)擊確定回到符號(hào)選擇器對(duì)話框內(nèi)���,點(diǎn)擊另存為按鈕將樣式保存�,如下圖所示。

點(diǎn)擊另存為按鈕
保存后點(diǎn)擊確定���,可以看到邊框?qū)υ捒騼?nèi)樣式已經(jīng)發(fā)生了改變��,如下圖所示���。
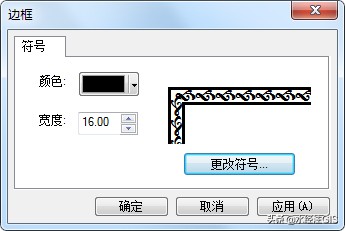
邊框?qū)υ捒?/p>
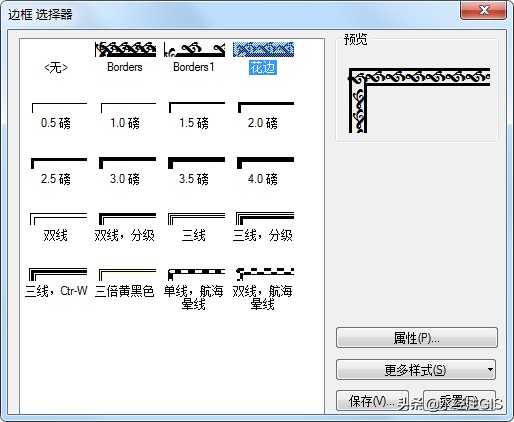
點(diǎn)擊確定后回到邊框選擇器對(duì)話框,點(diǎn)擊保存將邊框保存��,如下圖所示�。
點(diǎn)擊保存按鈕
保存之后選中新建的邊框樣式,如下圖所示����。
選擇邊框樣式
選擇后可以看到數(shù)據(jù)框?qū)傩詫?duì)話框內(nèi)樣式也發(fā)生了變化,如下圖所示��。
數(shù)據(jù)框?qū)傩詫?duì)話框
點(diǎn)擊確定����,可以看到邊框已經(jīng)從簡(jiǎn)單的線變成了處理后的花邊����,如下圖所示�����。
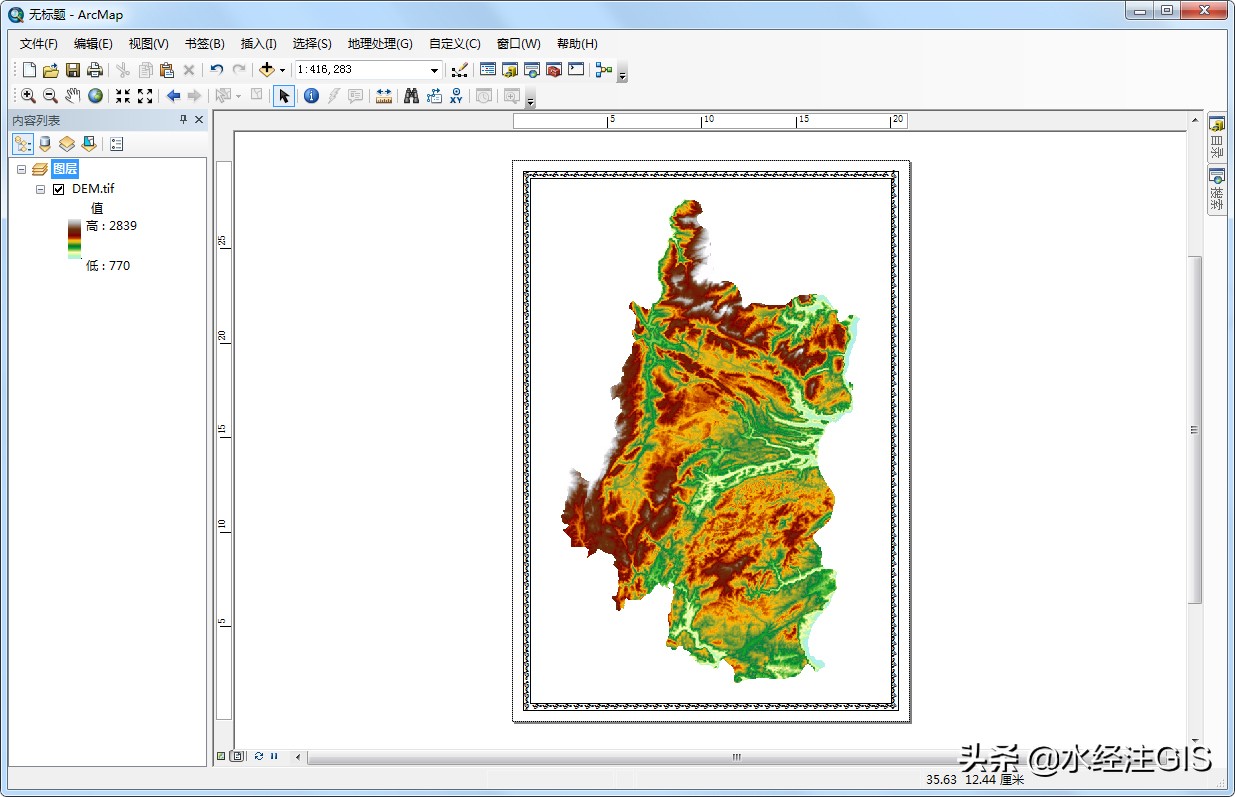
增加了花邊的地圖
5. 結(jié)語(yǔ)
以上就是使用ArcGIS制作地圖花邊的詳細(xì)說(shuō)明����,主要包括了數(shù)據(jù)來(lái)源�、新建邊框樣式和保存并應(yīng)用邊框樣式等功能。
最后�����,如果您在工作中遇到與GIS相關(guān)的任何難題�����,請(qǐng)通過(guò)關(guān)注頭條號(hào)"水經(jīng)注GIS"并在后臺(tái)留言告訴我們�,我們將針對(duì)比較有典型性和代表性的問(wèn)題提供解決方案,從而將我們"為您提供豐富的地圖數(shù)據(jù)與專業(yè)的GIS服務(wù)"之宗旨落到實(shí)處�!